Best Editing Software for Photographers: A Practical Guide to Choosing Your Ideal Editing Tools
Introduction
Every photographer, whether a beginner just starting out or a seasoned professional, knows that capturing the perfect image is only half the journey. The other half lies in how you edit and refine your photos to bring out their full potential. This is where photography editing software becomes an indispensable part of your toolkit.
Choosing the right photography editing software can feel overwhelming. Lightroom has long been the industry standard, but many photographers seek Lightroom alternatives that better fit their workflow, budget, or creative style. Understanding the strengths and limitations of different editing tools photographers use can save you time, improve your editing quality, and ultimately help your photography business thrive.
In this comprehensive guide, we’ll break down the best editing software options available today, explain their core features, and show you how to pick the right one for your unique needs. Whether you’re editing portraits, landscapes, weddings, or commercial shoots, this article will help you streamline your workflow, maintain consistency, and deliver stunning images to your clients.
By the end, you’ll have clear, actionable advice on:
– How to evaluate editing software based on your skill level and business goals
– Key features to look for in top tools
– Step-by-step guidance to integrate new software into your workflow
– Practical Lightroom alternatives that don’t compromise on power or quality
Let’s dive in and equip you with the knowledge to choose photography editing software that supports your creative vision and business success.
Key Takeaways
Selecting the right photography editing software is crucial to producing professional-quality images and running an efficient photography business. This guide highlights several Lightroom alternatives and editing tools photographers use today, each with unique advantages depending on your editing style, budget, and technical comfort.
You’ll learn how to assess software based on features such as RAW processing, batch editing, retouching capabilities, and integration with client management tools. We break down practical workflows that help beginners get started quickly and offer advanced tips for pros looking to optimize their editing speed and consistency.
Common pitfalls to avoid include overcomplicating your workflow with too many tools, neglecting backup and catalog management, and ignoring software updates that improve performance and security.
By following the actionable steps outlined here, you can confidently select and master the ideal editing software for your photography business, improving your turnaround times, client satisfaction, and ultimately, your bottom line.
What Are the Essential Features to Look for in Photography Editing Software?
When evaluating photography editing software, it’s important to focus on features that will truly impact your workflow and image quality. Here are the core elements every photographer should consider:
– RAW Image Support: RAW files contain the most image data and offer the greatest editing flexibility. Ensure your software fully supports RAW files from your camera model.
– Non-Destructive Editing: This allows you to make changes without permanently altering the original file, enabling you to tweak or revert edits anytime.
– Batch Editing: For professional workflows, editing multiple photos at once saves significant time, especially for event or wedding photographers.
– Advanced Color Correction: Tools like curves, HSL sliders, and selective color adjustments let you craft the precise look you want.
– Retouching Tools: Spot healing, cloning, and frequency separation are essential for portrait and commercial photographers who need flawless skin or object removal.
– Organizational Features: Cataloging, keyword tagging, and rating systems help manage large image libraries efficiently.
– Export Options: Ability to export in various formats and sizes, including presets for social media, print, or client delivery.
– User Interface & Speed: A clean, intuitive interface improves editing speed and reduces frustration. Performance with large files is critical.
– Integration with Other Tools: If you rely on plugins, presets, or tethered shooting, check compatibility.
For example, a wedding photographer processing hundreds of images per event will prioritize batch editing and cataloging, while a commercial photographer might focus more on precise retouching and color accuracy.
Lightroom Alternatives: Exploring Other Powerful Editing Tools
Adobe Lightroom is widely popular, but it may not suit every photographer’s needs or budget. Here are some of the best Lightroom alternatives, each with their own strengths:
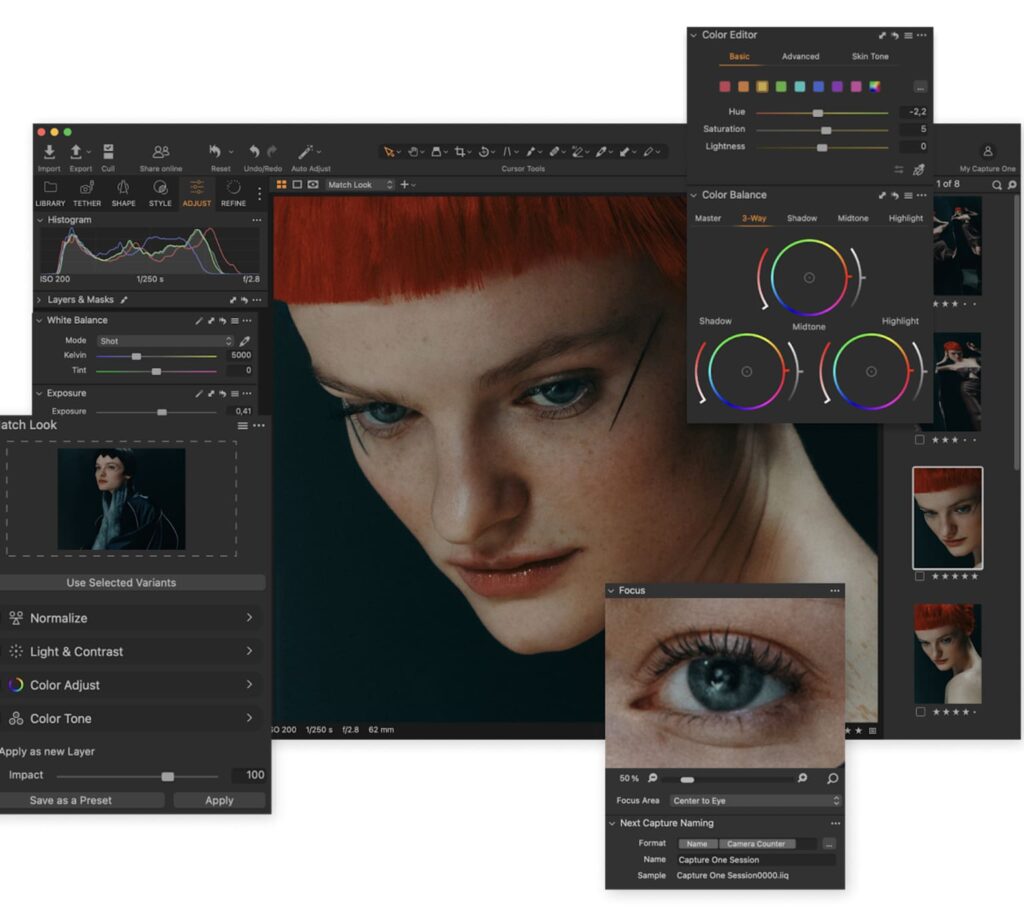
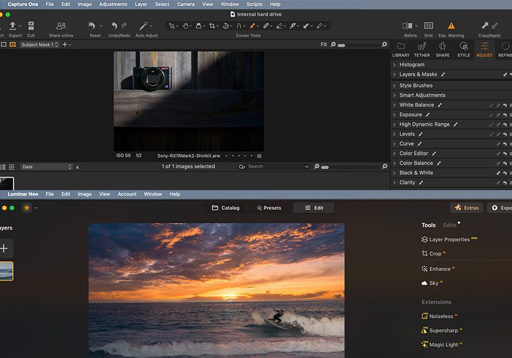
Capture One Pro: Known for exceptional RAW processing and color rendering, Capture One is favored by pros who need high-end color accuracy and tethered shooting. Its layer-based editing offers more control than Lightroom’s adjustment brushes. It has a steeper learning curve but delivers superior image quality, especially for studio photographers.
Link: https://www.captureone.com/
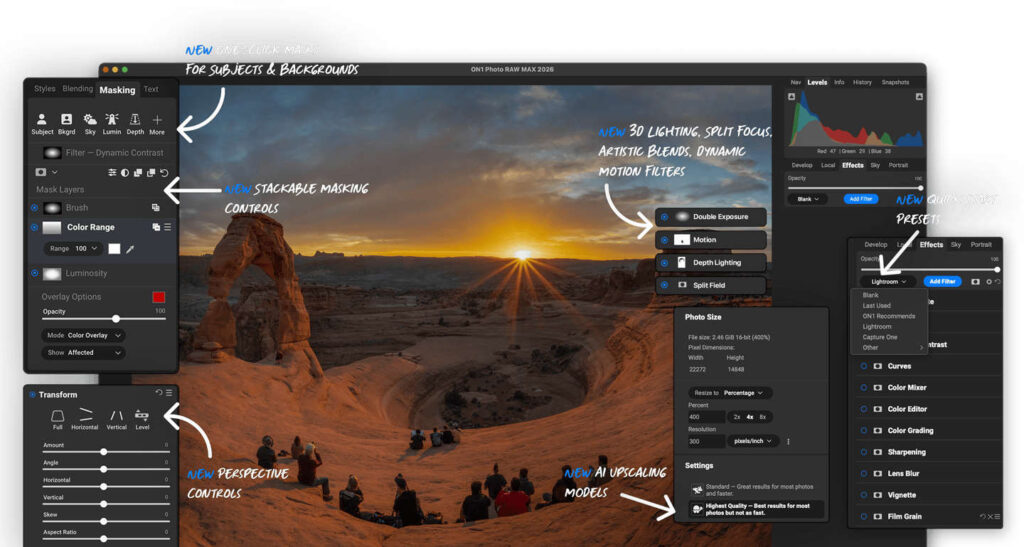
ON1 Photo RAW: A versatile all-in-one editor with strong RAW support, AI-powered tools, and integrated layers. It’s a solid choice if you want Lightroom-style cataloging plus Photoshop-like editing.
Link: https://www.on1.com/products/photo-raw/
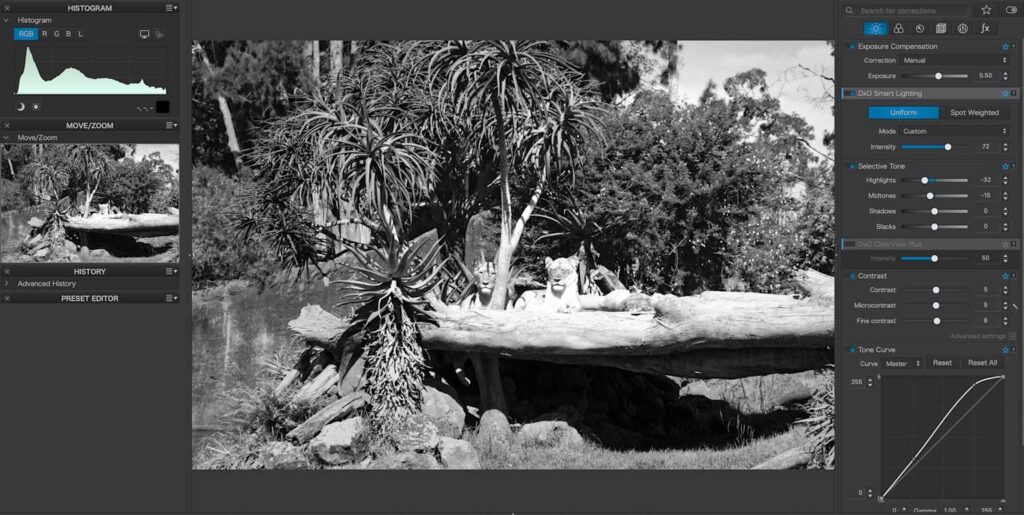
DxO PhotoLab: Offers strong noise reduction and lens correction powered by extensive lens profiles. Works well for landscape and travel photographers who want reliable automatic enhancements.
Link: https://www.dxo.com/dxo-photolab/
Luminar Neo: Focuses on AI-driven editing like sky replacement and portrait retouching. Faster workflow, lower manual control compared to advanced tools.
Link: https://skylum.com/luminar-neo/
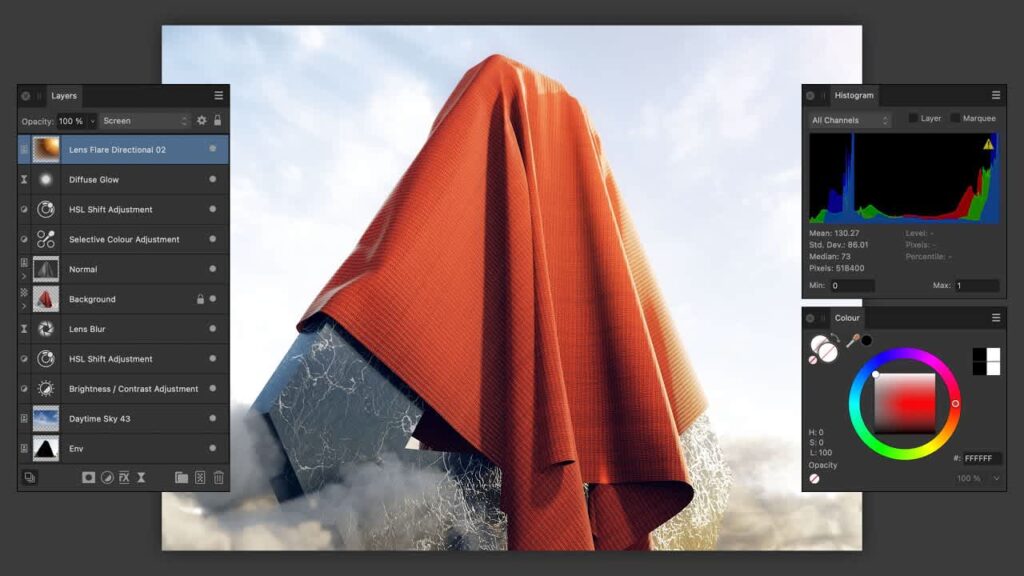
Affinity Photo: More aligned with Photoshop than Lightroom. Strong for retouching, compositing, and pixel-level edits. One-time purchase is a practical advantage.
Link: https://affinity.serif.com/photo/
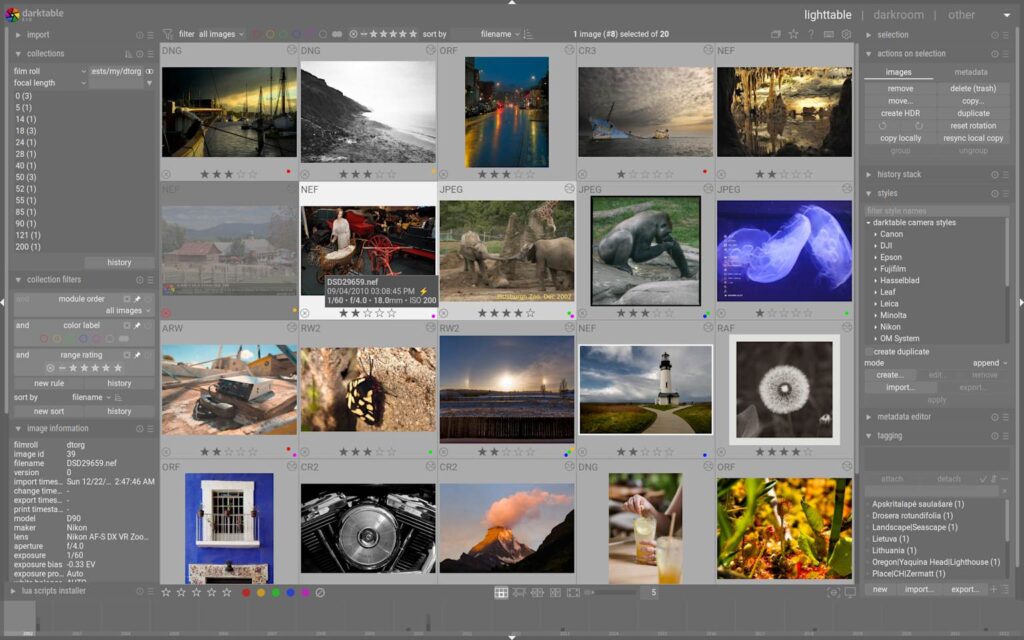
Darktable: Free and open-source with solid RAW processing and non-destructive editing. Interface is less intuitive, but capability is high once learned.
Link: https://www.darktable.org/
Each of these Lightroom alternatives offers unique benefits depending on your workflow needs, editing style, and budget constraints.
How to Choose the Right Editing Tools Photographers Need for Their Workflow
Selecting the right editing tools depends largely on your specific workflow, the type of photography you do, and your business goals. Here’s a step-by-step approach to help you decide:
1. Assess Your Editing Needs: Are you primarily doing quick edits for social media, or do you need advanced retouching for commercial clients?
2. Define Your Budget: Software ranges from free (Darktable) to expensive subscriptions (Adobe Creative Cloud). Factor in ongoing costs versus one-time payments.
3. Try Before You Buy: Most software offers free trials. Test how intuitive the interface is and how fast it processes your typical RAW files.
4. Consider Your Hardware: Some programs require more powerful computers, especially for large files or layers. Check system requirements.
5. Look for Community and Support: Active user forums, tutorials, and customer support can dramatically reduce your learning curve.
6. Plan for Integration: If you use other tools like client management software or printing services, verify compatibility.
For example, a beginner wedding photographer might start with Lightroom or Luminar Neo for ease of use and transition later to Capture One for refined color control once their business scales.
Step-by-Step Framework to Integrate New Editing Software into Your Workflow
Switching or adding new photography editing software can disrupt your workflow if not planned properly. Follow this framework for smooth integration:
1. Backup Your Existing Edits and Catalog: Always keep a secure backup of your current Lightroom catalogs or edited images before migrating.
2. Initial Familiarization: Spend a few dedicated hours exploring the new software’s interface, watching tutorials, and practicing on sample images.
3. Parallel Editing: For your next shoot, edit some images in your current software and some in the new one. Compare results and speed.
4. Create Presets or Templates: Customize and save presets that match your style to accelerate future edits.
5. Organize Your File Structure: Make sure your image storage and export folders are clearly defined and consistent across tools.
6. Update Your Client Delivery Workflow: Adjust how you export and send images to clients, ensuring all file types and sizes meet their needs.
7. Review and Optimize: After a few weeks, evaluate what’s working and what’s slowing you down. Don’t hesitate to tweak settings or revert if necessary.
For instance, if moving from Lightroom to Capture One, start by importing a small batch of images to test color profiles and adjustments before fully committing.
Practical Tips to Maximize Efficiency with Photography Editing Software
Efficient editing directly impacts your turnaround time, client satisfaction, and profitability. Here are actionable tips to speed up your workflow without sacrificing quality:
– Develop and Use Presets: Save time by applying consistent looks across shoots with presets for exposure, color grading, and sharpening.
– Master Keyboard Shortcuts: Learning shortcuts for tools and commands can cut editing time by 30% or more.
– Utilize Batch Processing: Group photos with similar lighting or settings and edit them simultaneously.
– Implement a Rating System: Flag your best shots early with stars or color tags to focus your edits on client selects.
– Calibrate Your Monitor: Accurate color display ensures your edits translate correctly to print and web.
– Automate Export Settings: Set up multiple export presets tailored to different delivery platforms (e.g., web, print, social media).
– Keep Software Updated: Updates often include speed improvements and bug fixes that improve performance.
– Use Layer Masks and Adjustment Brushes: Target specific areas for corrections without affecting the entire image, enhancing precision.
A wedding photographer I worked with reduced her average editing time from 3 hours per event to under 90 minutes by adopting batch editing and custom presets in ON1 Photo RAW.
How to Balance Editing Quality with Business Demands
Many photographers struggle to find the sweet spot between delivering high-quality edits and meeting client deadlines. Here’s a practical approach:
– Set Clear Expectations: Communicate realistic delivery timelines based on your editing capacity and current workload.
– Prioritize Client Favorites: Focus detailed retouching on client-selected images rather than every photo.
– Create a Post-Production Schedule: Allocate specific blocks of time for editing, breaks, and client communication to avoid burnout.
– Outsource When Necessary: For large events, consider hiring a retoucher or assistant to maintain quality and meet deadlines.
– Use Efficient Software Features: Leverage AI tools or batch editing to speed routine tasks without compromising quality.
– Continuously Improve Your Workflow: Regularly review your process for bottlenecks and invest time in learning shortcuts or new techniques.
For example, a commercial photographer working with fast turnaround deadlines uses Lightroom’s batch presets and outsources detailed retouching to maintain high standards without missing deadlines.
The Role of Mobile and Cloud-Based Editing Software in Modern Photography
With the rise of remote work and instant client communication, mobile and cloud-based editing tools are becoming increasingly relevant. Here’s what you need to know:
– Mobile Editing Apps: Apps like Adobe Lightroom Mobile and Snapseed offer on-the-go editing, allowing you to make quick adjustments during shoots or travel. While not as robust as desktop software, they’re great for social media-ready images.
– Cloud Syncing: Cloud-based software keeps your images and edits synced across devices, facilitating a seamless workflow between desktop, mobile, and tablet.
– Collaboration Features: Some platforms enable clients or team members to review and comment directly on edits, speeding approval processes.
– Storage and Backup: Cloud services often include automatic backups, reducing risk of data loss.
– Limitations: Mobile and cloud apps may not support complex retouching or large RAW files efficiently, so they complement rather than replace desktop software.
For example, a travel photographer edits quick selects on Lightroom Mobile during trips, then does final edits and exports on a desktop with Capture One for maximum quality.
Common Mistakes
Even experienced photographers can fall into common traps when choosing and using photography editing software. Avoid these pitfalls to save time and frustration:
– Overcomplicating Your Workflow: Using too many different editing tools can create confusion, file duplication, and increased workload. Aim for one or two core programs that cover your needs well.
– Ignoring Backup and Catalog Management: Failing to back up your catalogs or RAW files risks losing hours of work. Implement a robust backup strategy including external drives and cloud storage.
– Skipping Software Updates: Updates often fix bugs and improve performance. Avoid delaying updates that can prevent crashes or slowdowns.
– Not Investing Time in Learning: Expecting software to be intuitive without investing time in tutorials leads to inefficient editing and frustration.
– Neglecting Color Calibration: Without a calibrated monitor, your edits may look different on other devices or print, leading to client dissatisfaction.
– Relying Solely on Presets: While presets speed editing, overusing them can make your work look generic or repetitive. Customize presets to maintain a unique style.
– Underpricing Based on Editing Time: Not factoring your editing time into pricing can hurt profitability. Track your hours and adjust rates accordingly.
– Ignoring Workflow Integration: Selecting software that doesn’t integrate well with your other tools (client management, invoicing, storage) can create bottlenecks.
For example, a photographer who switched to a free editing tool but didn’t learn its interface ended up spending longer editing than before, negating any cost savings.
What to Do Now
Ready to elevate your editing workflow with the right photography editing software? Here’s a step-by-step action plan to get started:
1. Evaluate Your Current Workflow: Write down the software you currently use, the time spent editing, and any challenges you face. Identify features or improvements you want.
2. Research and Shortlist Software: Based on this guide, pick 2-3 editing software options that meet your needs and budget. Use free trials to test each in real-world scenarios.
3. Invest Time in Learning: Commit to watching tutorials, reading manuals, or joining user forums for your chosen software. Set a schedule to practice regularly.
4. Organize Your Digital Assets: Backup your images and catalogs before making any switch. Create a consistent folder structure and naming convention.
5. Create or Import Presets: Develop custom presets or import existing ones to speed up your editing and maintain consistency.
6. Optimize Your Hardware: Ensure your computer meets the software’s requirements. Consider upgrading your monitor or adding external drives for faster performance.
7. Plan Integration With Your Business Tools: Check how your editing software connects with client proofing platforms, invoicing tools, or cloud storage to streamline your workflow.
8. Set Realistic Editing Goals: Start by editing a small batch of images with the new software, gradually increasing as you gain confidence.
9. Evaluate and Adjust: After a few weeks, assess how the new software is affecting your workflow, quality, and turnaround times. Make adjustments as needed.
Taking these steps will help you make a smooth transition to better editing tools, improve your image quality, and support your growing photography business.
FAQs
Q1: Is Adobe Lightroom still the best photography editing software for beginners?
Adobe Lightroom remains one of the most beginner-friendly and versatile photo editors available. It offers a clean interface, powerful RAW processing, and excellent organizational tools. Its cloud-based version also allows syncing across devices. However, it requires a subscription, which may not suit everyone’s budget. Beginners might also explore alternatives like Luminar Neo or ON1 Photo RAW that offer similar features with different pricing models and some AI-driven tools to help simplify edits.
Q2: Can I switch from Lightroom to another editing software without losing my edits?
Switching software involves some challenges because Lightroom stores edits non-destructively within its catalog. Most Lightroom alternatives can import RAW files but may not carry over all adjustment settings exactly. Some programs offer plugins or export options (e.g., exporting edited TIFFs) to transfer edits partially. It’s best to plan a gradual transition, keep Lightroom catalogs as backups, and understand that you may need to redo some edits to match the original look.
Q3: What editing software is best for portrait retouching?
For detailed portrait retouching, software like Capture One Pro and Affinity Photo excel due to their advanced masking, layers, and cloning tools. Luminar Neo’s AI-based portrait enhancement tools can speed up common tasks like skin smoothing and eye brightening. Photoshop remains the industry standard for pixel-level retouching, but if you want an all-in-one solution, ON1 Photo RAW combines cataloging with strong retouching features suitable for portraits.
Q4: How important is it to calibrate my monitor for photo editing?
Monitor calibration is critical to ensure your edits reflect accurate colors and brightness. Without calibration, your photos might look perfect on your screen but appear overexposed, underexposed, or color-shifted on other devices or in print. Tools like the X-Rite i1Display or Datacolor Spyder are affordable and easy to use. Regular calibration (every few weeks) maintains consistent, professional results and client satisfaction.
Q5: Are free photo editing tools viable for professional photographers?
Free editing tools like Darktable and RawTherapee are surprisingly powerful and can produce professional-quality results. They support RAW files and offer many advanced editing features. However, they may lack the polish, ease of use, and integration found in paid software, which can slow down your workflow. For photographers starting out or on a tight budget, free tools are a good option, but investing in paid software often saves time and improves efficiency in the long run.
Conclusion
Selecting the best photography editing software is more than just choosing a popular brand or the cheapest option. It’s about finding tools that align with your creative style, business workflow, and long-term goals. Whether you stick with Lightroom or explore Lightroom alternatives like Capture One, ON1 Photo RAW, or Luminar Neo, the key is to prioritize features that enhance your editing efficiency and image quality.
By focusing on essential capabilities—RAW support, non-destructive edits, batch processing, and retouching tools—you can build a streamlined post-production process that saves time and delivers consistent, stunning results to your clients. Remember, integrating new software requires planning, patience, and ongoing learning to maximize its benefits.
Avoid common mistakes like overcomplicating your workflow or neglecting backups, and take actionable steps today to evaluate, test, and adopt the right editing tools photographers need for success. Your editing software is the engine behind your artistic vision and business growth—choose wisely, learn deeply, and watch your photography thrive.
With the right photography editing software in place, you’re empowered to create beautiful images faster, impress clients consistently, and keep your photography business moving forward in a competitive market. Now is the perfect time to invest in your editing skills and tools for lasting success.