How to Choose the Right Camera Lens: A Practical Guide for Photographers
Introduction
Choosing the right camera lens is one of the most critical decisions a photographer can make. Whether you’re a beginner just starting out, a hobbyist expanding your gear, or a working professional looking to optimize your toolkit, understanding how to choose a camera lens can dramatically improve your images and your business. The lens you select impacts not only the technical quality of your photos but also your creative options and workflow efficiency.
Many photographers get overwhelmed when faced with the vast array of lens options—prime lenses, zoom lenses, wide-angle, telephoto, macro, and everything in between. Add to that the confusion about sensor sizes, aperture values, and focal lengths, and it becomes clear why choosing lenses can feel intimidating.
This guide is designed to demystify the process. We’ll break down the essential lens types in photography, explain how focal length affects your images, and provide practical frameworks and real-world advice to help you confidently choose the right lens for your needs. Whether you’re shooting portraits, landscapes, events, or commercial work, understanding lenses will elevate your craft and give your business a competitive edge.
By the end of this article, you’ll have a clear step-by-step approach to selecting lenses that match your shooting style, budget, and business goals. You’ll also learn how to avoid common pitfalls and how to plan your gear purchases strategically to grow as a photographer without overspending.
Key Takeaways
– Choosing the right camera lens depends on your photography style, subject matter, and business needs.
– Understanding lens types and focal lengths is essential to selecting lenses that deliver the desired image composition and quality.
– Prime lenses offer excellent sharpness and wide apertures but are less versatile than zoom lenses.
– Zoom lenses provide flexibility for dynamic shooting scenarios but may have smaller apertures and heavier builds.
– Consider factors like aperture, image stabilization, and lens compatibility with your camera system.
– Plan your lens purchases based on your most common shooting scenarios and client demands.
– Avoid common mistakes such as buying lenses based solely on specs or trends without considering practical use.
– Implement a step-by-step framework to assess your needs and match them with lens features and price points.
– Investing in the right lenses improves your workflow, client satisfaction, and the overall quality of your photography business.
What Are the Main Lens Types in Photography and How Do They Differ?
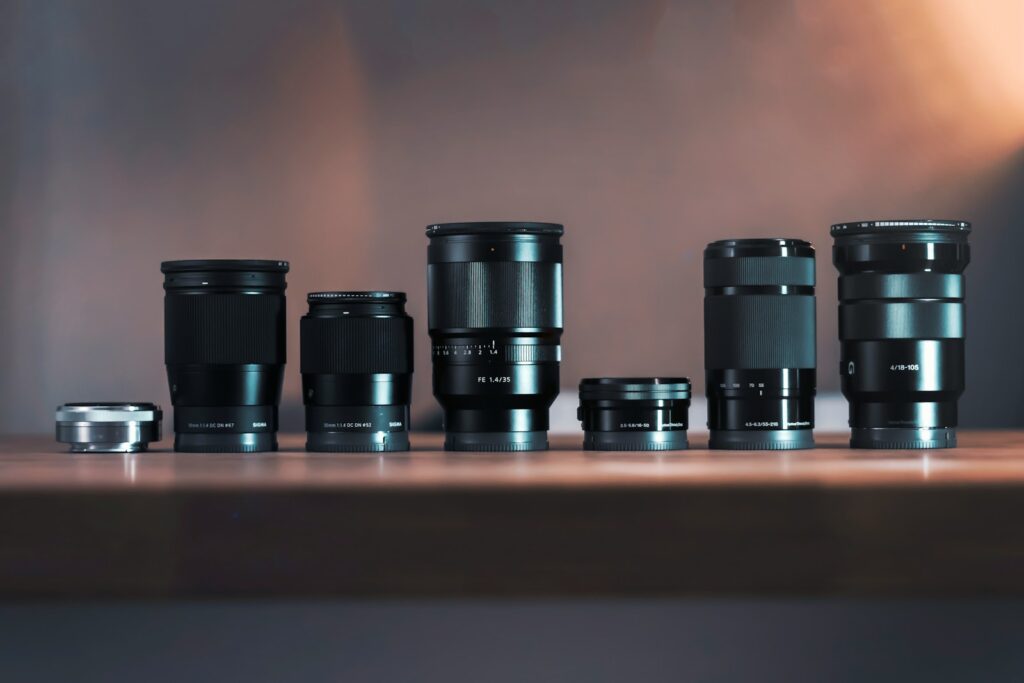
When photographers talk about lens types in photography, they usually refer to the optical design and intended use of the lens. The most common categories include prime lenses, zoom lenses, wide-angle lenses, telephoto lenses, and specialty lenses like macro and tilt-shift. Understanding these types is the foundation for knowing how to choose a camera lens.
Prime Lenses:
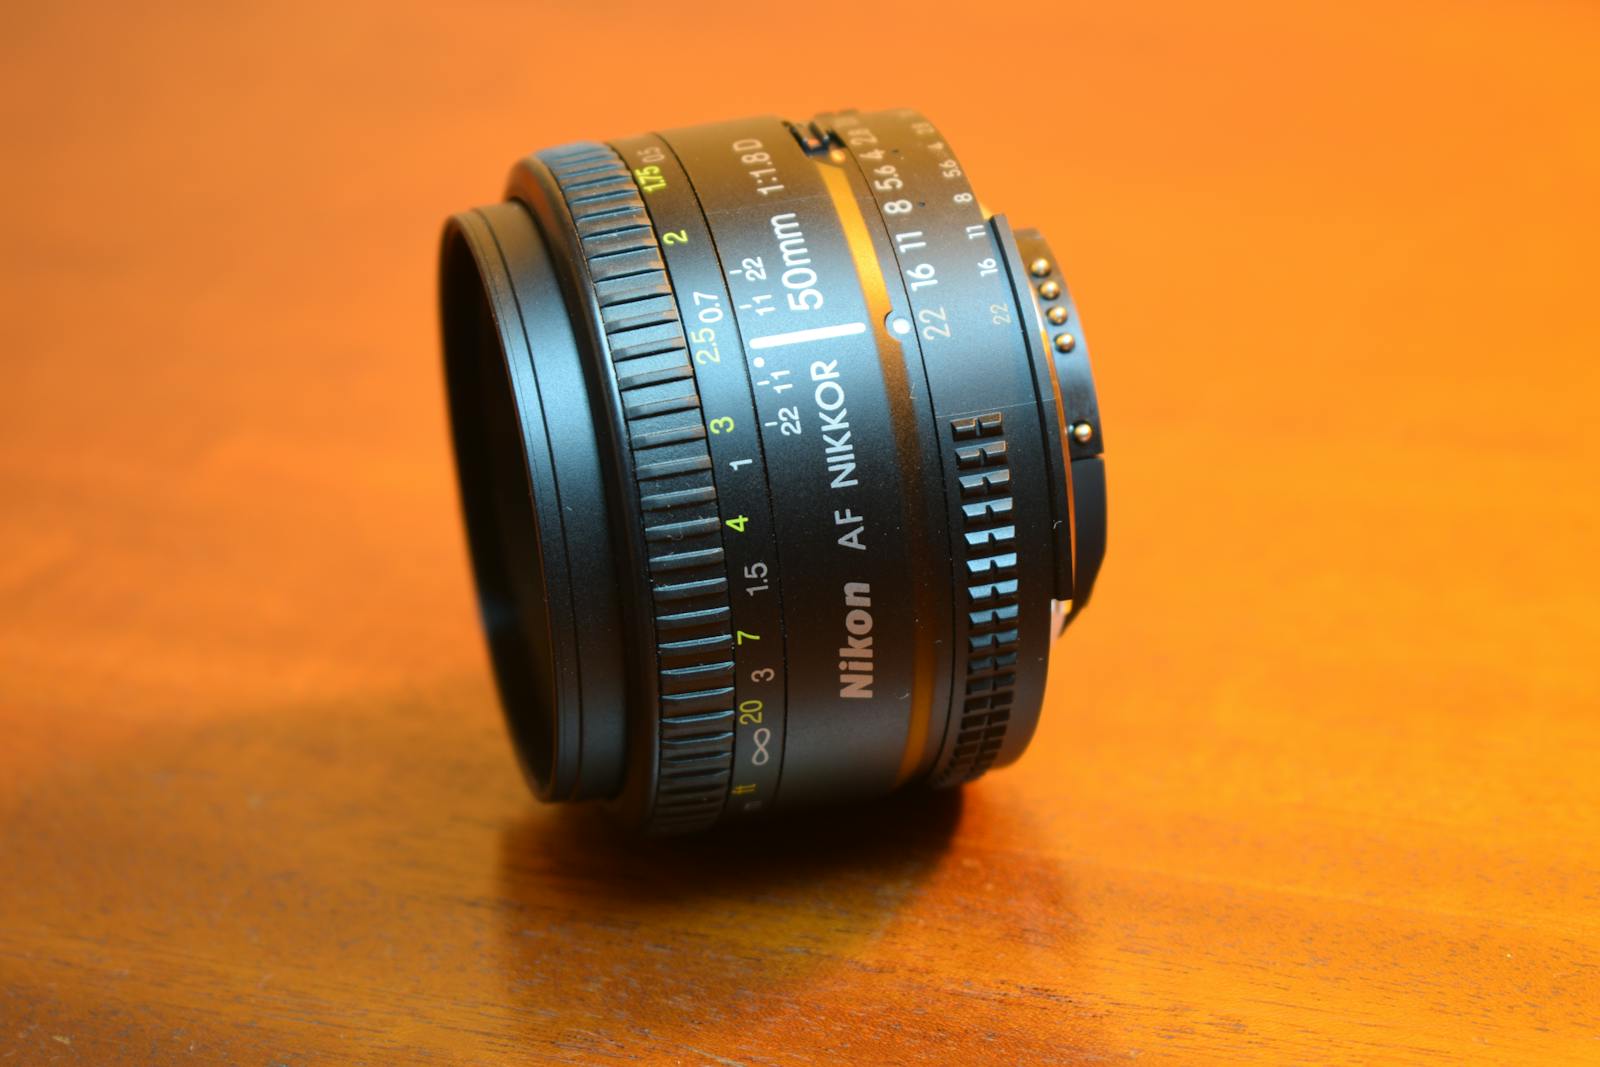
Prime lenses have a fixed focal length, meaning they don’t zoom in or out. Common primes include 35mm, 50mm, and 85mm. They typically offer wider maximum apertures (like f/1.8 or f/1.4), which let in more light and create a pleasing shallow depth of field. This makes them excellent for portraits, low-light situations, and creative effects like bokeh.
Example: If you shoot portraits primarily, a 85mm f/1.8 prime lens will give you sharp images with creamy background blur.
Zoom Lenses:
Zoom lenses cover a range of focal lengths, such as 24-70mm or 70-200mm. They provide versatility, especially in dynamic environments like events or weddings where you need to quickly adjust framing without changing lenses. However, zoom lenses often have smaller maximum apertures (like f/4 or variable apertures) and can be heavier.
Example: A 24-70mm f/2.8 zoom is a popular all-around lens for wedding photographers because it handles wide shots and portraits without switching lenses.
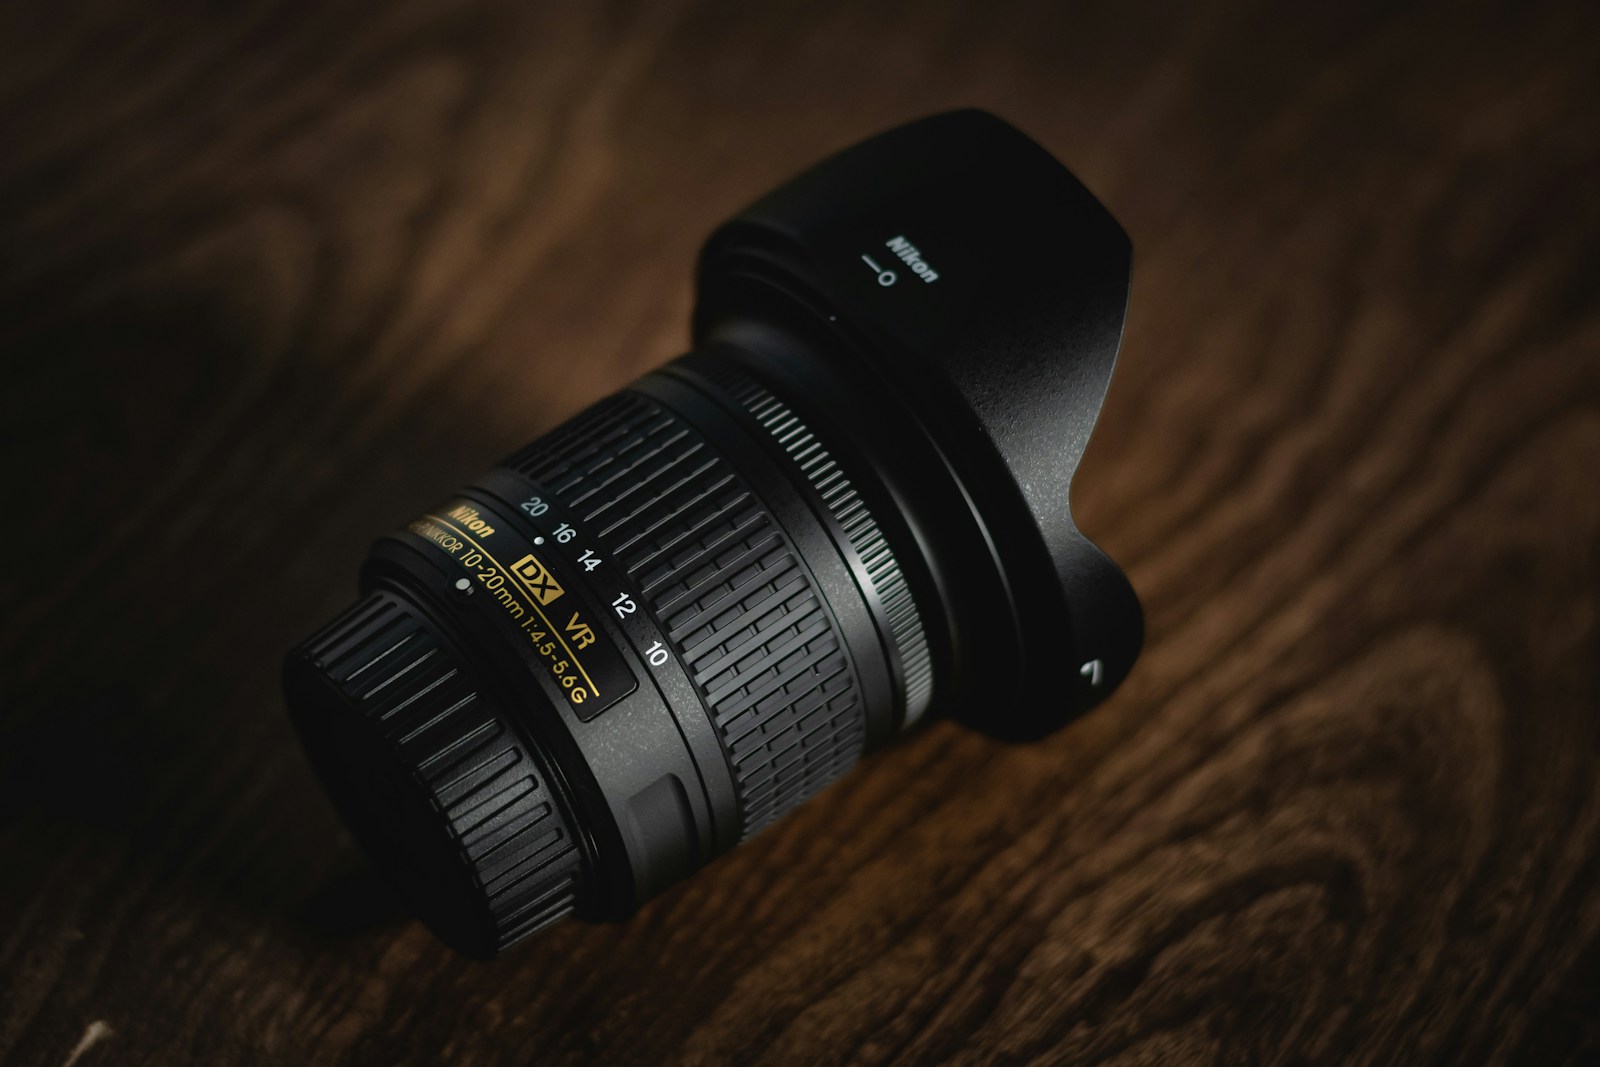
Wide-Angle Lenses:
With focal lengths typically below 35mm, wide-angle lenses capture expansive scenes, making them perfect for landscapes, architecture, and environmental portraits. They tend to exaggerate perspective, which can be a creative advantage or a challenge depending on your style.
Example: A 16-35mm zoom is a favorite for real estate photographers who need to convey the spaciousness of interiors.
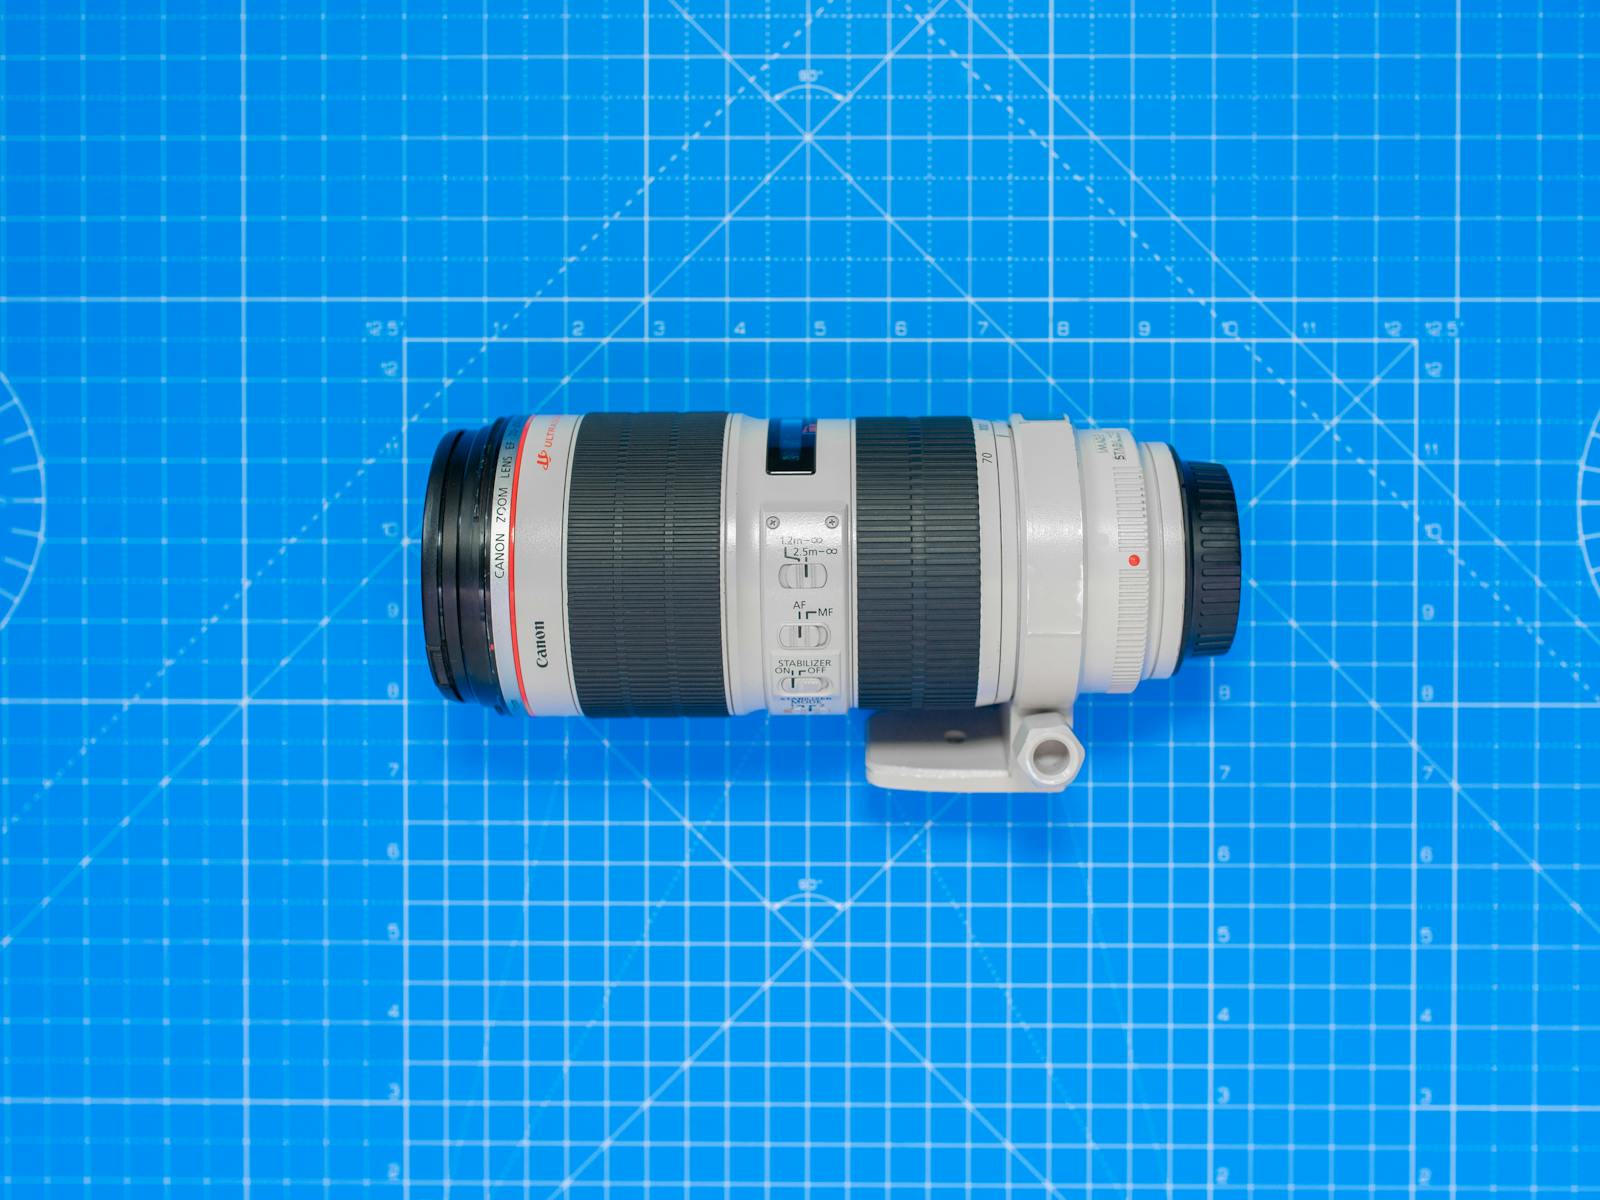
Telephoto Lenses:
Telephoto lenses have longer focal lengths (above 70mm), bringing distant subjects closer. They’re essential for wildlife, sports, or any genre requiring distance between photographer and subject.
 Example: A 70-200mm zoom lens is a workhorse for event photographers covering sports or concerts.
Specialty Lenses:
This includes macro lenses for extreme close-ups, tilt-shift lenses for correcting perspective in architectural photography, and fisheye lenses for creative distortion effects.
Example: A 100mm macro lens lets product photographers capture fine details with sharpness and clarity.
How Does Focal Length Affect Your Images? A Beginner’s Focal Length Guide
Focal length is one of the most important specs to understand when you choose a camera lens. It’s measured in millimeters (mm) and determines the angle of view and magnification of your lens. Simply put, focal length affects how much of the scene fits into your frame and how large subjects appear.
Wide Focal Lengths (14mm to 35mm):
These lenses capture a broad view and are great for landscapes, interiors, and street photography. They tend to exaggerate perspective, making objects closer to the lens appear larger relative to the background.
Standard Focal Lengths (35mm to 70mm):
These focal lengths produce a natural perspective similar to what the human eye sees. They’re versatile for portraits, events, and everyday shooting.
Telephoto Focal Lengths (70mm and above):
Telephoto lenses magnify subjects, compress perspective, and blur backgrounds, making them ideal for portraits, sports, and wildlife photography.
Crop Sensor vs. Full Frame:
Remember that sensor size affects the effective focal length. On crop sensor cameras, multiply the lens focal length by the crop factor (usually 1.5x or 1.6x) to get the equivalent full-frame focal length. For example, a 50mm lens on an APS-C camera acts like a 75-80mm on full frame.
Practical Tip:
If you want a portrait lens that creates flattering compression and background blur, aim for around 85mm on full frame or 50mm on crop sensor cameras.
How to Match Lens Choice to Your Photography Style and Business Needs
Choosing a lens isn’t just about specs—it’s about how you shoot and what your clients require. Different photography genres demand different lenses.
Portrait Photography:
Fast prime lenses like 50mm or 85mm with wide apertures (f/1.4–f/1.8) are ideal. They create sharp images with beautiful background separation. A 70-200mm zoom lens can also be helpful for flexibility in framing.
Landscape Photography:
Wide-angle lenses (16-35mm) are favored to capture vast scenes. A sturdy tripod and lenses with sharp edge-to-edge performance are key here.
Event Photography:
Versatile zoom lenses like 24-70mm and 70-200mm f/2.8 work best to cover changing scenes. Image stabilization features help when shooting handheld in low light.
Product Photography:
Macro lenses for close-ups and sharp detail are essential. Also, consider prime lenses with excellent sharpness and minimal distortion.
Wedding Photography:
A combination of fast zooms (24-70mm f/2.8) and primes (35mm, 85mm) covers all situations. Weather sealing and reliability are also important.
Mini Case Study:
Jessica is a wedding photographer who initially invested in only prime lenses but found herself missing the flexibility at receptions. She added a 24-70mm f/2.8 zoom to her kit, which allowed her to capture candid moments without swapping lenses constantly. This made her workflow faster and increased client satisfaction.
What Lens Features Should You Prioritize? Aperture, Image Stabilization, and More
When you choose a camera lens, several features beyond focal length influence your shooting experience and image quality.
Maximum Aperture:
A wider maximum aperture (lower f-number) lets in more light, enabling shooting in low light and creating shallow depth of field for subject isolation. Fast lenses (like f/1.4 or f/1.8) are often pricier but worth it for portraits and events.
Image Stabilization (IS/VR/OSS):
This feature reduces camera shake, allowing slower shutter speeds without blur. It’s invaluable for handheld shooting, especially in low light or with telephoto lenses.
Autofocus Speed and Accuracy:
Fast and reliable autofocus is critical for capturing sharp images, especially for action or event photographers.
Lens Build Quality:
Weather sealing and durable materials ensure your lens performs well in challenging conditions.
Compatibility:
Make sure the lens fits your camera mount and sensor size (full frame vs. crop). Sometimes third-party lenses are more budget-friendly but may have limitations.
Weight and Size:
Heavy lenses can slow down your shooting pace and cause fatigue during long sessions.
Actionable Advice:
If you shoot events professionally, prioritize lenses with image stabilization and fast autofocus. For studio or landscape shoots, aperture and sharpness might be more important.
Step-by-Step Framework to Choose Your Next Lens
Here’s a simple, practical process to help you decide which lens to buy next:
1. Assess Your Shooting Needs:
List your main photography styles and typical scenarios. Do you shoot portraits, events, landscapes, or products?
2. Identify Lens Types That Fit Those Needs:
Refer to the lens types and focal lengths that suit each style.
3. Consider Your Current Gear:
What lenses do you already own? Identify gaps in your kit.
4. Set a Budget:
Decide how much you’re willing to invest.
5. Research Lens Options:
Look for lenses with the right focal length, aperture, and features within your budget.
6. Read Reviews and Test If Possible:
Try lenses in-store or rent before buying.
7. Plan for Future Growth:
Choose lenses that will support your evolving style and business.
Example:
Mark shoots mostly family portraits in natural light and wants a lens that works well outdoors and indoors. He already has a 24-70mm f/4 but wants better low light performance. Following the steps, he identifies a 50mm f/1.8 prime lens as affordable, fast, and perfect for his style.
How to Balance Lens Quality and Budget for Your Photography Business
Lenses are long-term investments. While high-end lenses offer superior optics and durability, they come with a high price tag. Balancing quality and cost is crucial, especially if you’re building a business.
Prioritize Key Lenses:
Start with one or two versatile lenses that cover most of your work. For example, a 24-70mm f/2.8 zoom and a 50mm prime can cover many scenarios.
Buy Used or Rent:
Quality used lenses can save money without sacrificing performance. Renting expensive lenses for special shoots is another smart choice.
Consider Your Return on Investment (ROI):
If a lens helps you deliver better photos that win clients or command higher fees, it’s worth the cost.
Avoid Overbuying:
Don’t buy lenses just because they’re popular or highly rated. Focus on lenses that fit your shooting style and client needs.
Tip:
Keep a wishlist and buy lenses gradually instead of all at once. This spreads out expenses and lets you learn more about your needs over time.
How Lens Choice Affects Your Editing Workflow and Client Deliverables
The lens you choose impacts not only your shooting but also your post-processing and final client images.
Sharpness and Distortion:
High-quality lenses produce sharper images with less distortion, which reduces editing time. Cheaper lenses might require more corrections for chromatic aberration or vignetting.
Depth of Field:
Lenses with wide apertures create images with shallow depth of field, requiring careful focus selection but often needing less background cleanup in editing.
Flexibility in Cropping:
Zoom lenses give you more framing options in-camera, reducing the need for cropping and loss of resolution.
Consistency:
Using a core set of lenses helps maintain a consistent look, which is important for branding and portfolios.
Example:
For commercial product shoots, photographers often choose macro primes with exceptional sharpness to minimize retouching time and deliver flawless images quickly.
When and Why to Upgrade Your Lenses in Your Photography Business
Upgrading lenses is a natural part of growing your photography business. But how do you know when it’s time?
Signs to Upgrade:
– Your current lenses don’t perform well in your typical shooting conditions (e.g., low light, autofocus speed).
– You want to expand your style or offer new services that require different focal lengths.
– Your lenses show signs of wear or damage affecting image quality.
– You need better reliability and durability for professional work.
Plan Your Upgrades Strategically:
Focus on lenses that will have the biggest impact on your business first.
Don’t Upgrade Just Because of New Models:
Newer lenses may have incremental improvements but aren’t always necessary.
Tip:
Before upgrading, test rentals or borrow lenses to confirm the benefits.
—
Common Mistakes Photographers Make When Choosing Lenses
Choosing a lens is a big decision, and many photographers make avoidable mistakes that can slow their progress or waste money.
1. Buying Lenses Based on Specs Alone:
Focusing only on technical specs without considering practical use often leads to disappointment. For example, a lens that’s sharp on paper might be too heavy or slow to autofocus for your style.
2. Following Trends Instead of Needs:
Purchasing popular lenses because others use them rather than matching your own shooting requirements wastes money and space.
3. Neglecting Sensor Compatibility:
Buying a lens designed for full-frame on a crop sensor camera (or vice versa) without understanding the implications can limit your lens’s effectiveness.
4. Ignoring Aperture Needs:
Choosing a lens with a narrow aperture (like f/4) when you frequently shoot in low light or want blurred backgrounds can hurt image quality.
5. Overcomplicating Your Kit Early On:
Beginners can get overwhelmed by buying too many lenses at once instead of mastering one or two.
6. Forgetting About Lens Weight and Size:
Heavy lenses can be impractical for event or travel photographers.
7. Not Testing Before Buying:
Skipping rentals or hands-on trials increases the chance of regret.
Example:
A hobbyist photographer bought a 70-200mm f/2.8 lens for general use but found it too heavy and slow to use for street photography where a lightweight 35mm prime was better suited.
Avoid these mistakes by evaluating your needs carefully, doing research, and testing lenses before committing.
—
What to Do Now (Action Plan)
Taking action on how to choose a camera lens can be straightforward if you follow this structured plan:
1. Evaluate Your Photography Style:
Write down your main photography genres and shooting scenarios. Be specific about lighting conditions, subject distance, and style.
2. Inventory Your Current Gear:
List your existing lenses and note their strengths and weaknesses in your workflow.
3. Set Clear Priorities:
Identify what you need most—a wider aperture, longer focal length, better image stabilization, or compact size.
4. Research Lens Options:
Use trusted photography resources and reviews to narrow down lenses that fit your criteria and budget.
5. Test Before You Buy:
Rent or borrow lenses to try them in your typical shooting environment. Pay attention to autofocus, handling, and image quality.
6. Plan Your Purchase:
Decide on the best lens to buy next based on your findings. Consider buying used to save money if condition and warranty are acceptable.
7. Practice and Learn:
After acquiring your lens, dedicate time to master its strengths and limitations. Practice shooting in different scenarios to build confidence.
8. Review and Adjust:
After several shoots, assess how the lens fits your style and business. Adjust your gear strategy as needed.
By following these steps, you’ll make informed, practical choices that enhance your photography and support your professional growth.
—
FAQs
1. What lens should a beginner photographer start with?
For beginners, a versatile lens like a 50mm f/1.8 prime is often recommended. It’s affordable, lightweight, and offers a natural perspective with a wide aperture for learning about depth of field. Alternatively, an 18-55mm kit zoom lens covers a range of focal lengths for experimenting with different compositions. The key is to start with lenses that encourage learning and don’t overwhelm you with options.
2. How does sensor size affect lens choice?
Sensor size determines the effective focal length of a lens. Crop sensors (APS-C) multiply the lens focal length by about 1.5x, meaning a 50mm lens acts like a 75mm on full frame. This affects framing and field of view, so photographers must consider sensor size to pick lenses that provide the composition they want.
3. Are zoom lenses better than prime lenses?
Neither is universally better; it depends on your needs. Zoom lenses offer flexibility and convenience for dynamic situations like events. Prime lenses often provide superior sharpness, wider apertures, and better low-light capability, which benefits portraits and creative work. Many professionals use both types depending on the shoot.
4. How important is lens aperture for photography?
Aperture controls the amount of light entering the lens and affects depth of field. Wider apertures (lower f-numbers) allow shooting in low light and create blurred backgrounds that isolate subjects. Aperture is crucial for portraits and artistic effects but less critical for landscapes where you want everything in focus.
5. Can I use third-party lenses with my camera?
Yes, many third-party manufacturers like Sigma and Tamron make lenses compatible with major camera brands. These lenses often provide good quality at lower prices. However, compatibility, autofocus speed, and firmware updates can vary, so research and test before purchasing third-party lenses.
—
Conclusion
Knowing how to choose a camera lens is essential for every photographer who wants to improve their craft and grow their business. Your lens choice affects your creative possibilities, image quality, shooting efficiency, and ultimately the satisfaction of your clients. By understanding the different lens types in photography, the impact of focal length, and the features that matter most, you can make smarter decisions that fit your style and budget.
Choosing lenses strategically—whether prime or zoom, wide-angle or telephoto—helps you cover your most common shooting scenarios confidently. Prioritize lenses that complement your workflow, minimize post-processing headaches, and align with your business goals. Avoid common pitfalls like buying gear based on trends or specs alone without practical testing.
Remember, the best lens for you is the one that fits your unique needs, not necessarily the most expensive or newest model. Use the step-by-step framework provided to assess your requirements, research options, and test lenses before investing. Over time, upgrading lenses thoughtfully will elevate your photography and set you apart in a competitive market.
Investing time and effort into choosing the right camera lens pays off with better images, happier clients, and a more rewarding photography career. Start evaluating your lens needs today and take your photography to the next level.